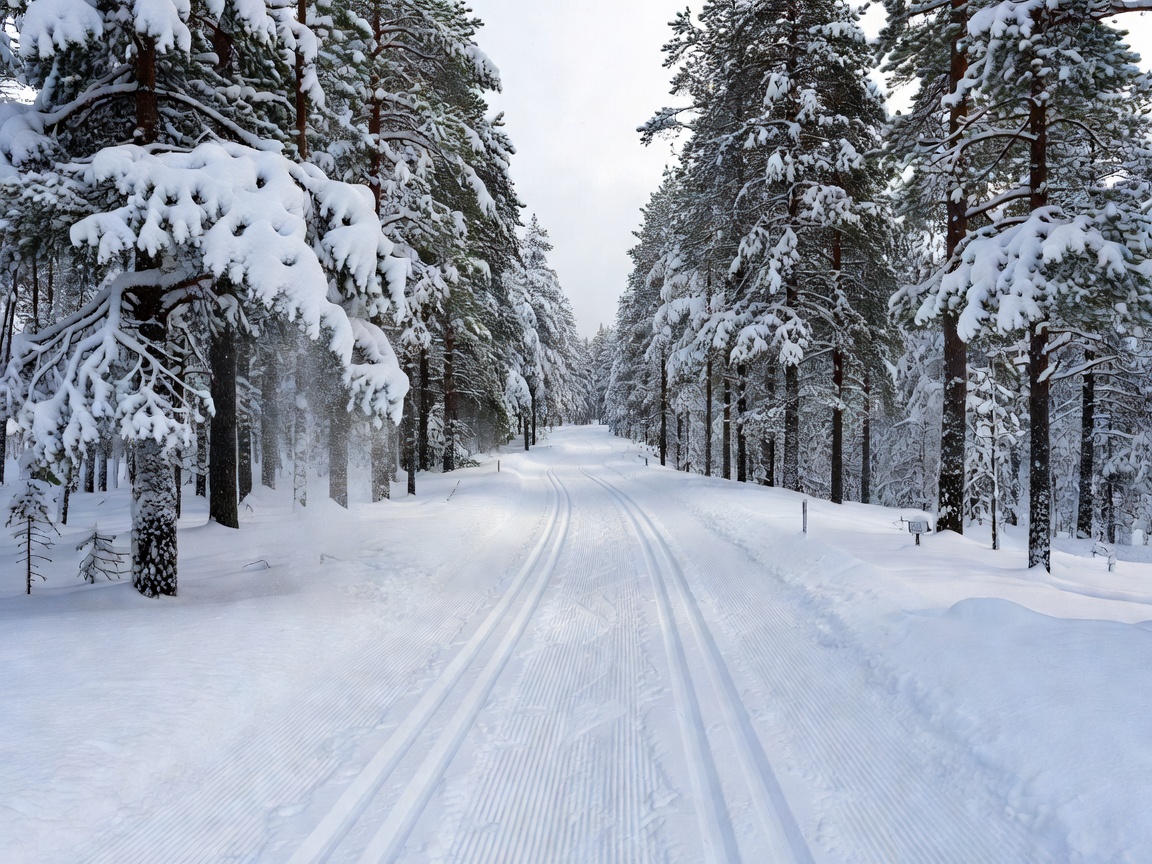
A useful trail choice starts with the group, ski technique and snow surface. Then check distance, elevation and access. Trail maps can use different difficulty labels, so read the route description and profile rather than relying on color or a single rating.
Classic tracks and skate lanes
Classic skiing follows parallel grooves, usually set to one or both sides of a groomed trail. The grooves guide the skis through the kick-and-glide motion. Track depth, spacing and continuity affect how comfortable the route feels. Fresh grooming can look different from an older track, and wind, traffic or thaw can change the surface after it is prepared.
Skate skiing uses a firm, wider corduroy surface beside or between classic tracks. Skiers push each ski outward in a skating motion. A narrow trail, soft shoulder or crowded junction can make technique difficult. Confirm that a route has skate grooming if that matters to your plan. Some networks maintain both formats; others provide one surface or vary it by section.
Read terrain, not just distance
Distance is only one part of route difficulty. Look for total climbing, the steepness and length of climbs, rolling sections, and the number of descents. A short route with repeated hills can demand more control than a longer, gradual loop. Beginners often benefit from a short loop near an access point. It allows a simple return if balance, temperature or snow conditions become an issue.
Longer endurance routes need a different check. Review the map for junctions, exposure, bailout points and the distance between facilities. A route that appears connected may include shared-use sections or crossings. Follow local signs and published access guidance. Do not assume every line shown on a map is groomed, open or appropriate for skiing.
Forest, open ground and snow
Forest trails can offer shelter from wind and a more consistent visual reference. They may also have tighter turns, shade and narrow corridors. Open terrain can provide wider views and room to skate, but exposure makes wind and visibility more important. These are general patterns, not guarantees. Local terrain and weather determine the actual experience.
Snow conditions influence grip, glide and control. Fresh snow, compacted snow, icy patches and thawing surfaces behave differently. Check the latest information from the trail operator, where available, and read the forecast for the route area. Conditions can change between an update and arrival. Carry clothing and equipment suited to the day's range, and choose a conservative route if the surface is uncertain.
Grooming information and route selection
Grooming notes may describe when a section was last prepared, which technique is supported or whether work is planned. They are a snapshot, not a promise of what you will find later. Check the update time and look for route-specific notes. If information is missing, contact the operator or select a route with clearer access details.
Compare trail maps with the profile. Confirm trail length, climbing, loop direction, junctions and starting point. Check whether the route begins at a staffed center, a public access point or a remote trailhead. Review parking, transport and any local rules before travelling. A route with simple navigation and a short return option can be a better choice than a longer trail with uncertain access.
Match the trail to the session
For technique work, choose a route with space to repeat movements and enough gentle terrain to focus on balance. For a family outing, consider short loops, clear signs, nearby facilities and flexible turnaround points. For endurance, select a route whose total distance and climbing fit the skier's experience. Avoid choosing a demanding route solely because it is available.
Before departure, share the route plan and expected return with someone when skiing away from a busy center. Carry a phone, but do not rely on signal or battery in cold conditions. Keep a shorter option in mind. Turn around if visibility, surface or energy changes. Trail planning works best when it leaves room to adapt.
Good for
- Beginners using short, clear loops.
- Technique work on suitable groomed terrain.
- Endurance sessions with mapped distance and climbing.
- Family skiing with easy turnaround options.
- Longer training days with access and exit points checked.
What to check
- Current trail condition and update time.
- Classic or skate grooming details.
- Elevation, route length and junctions.
- Trailhead access, transport and local rules.
- Weather, visibility and equipment requirements.
Quick comparison
| Trail feature | Best question to ask |
|---|---|
| Classic tracks | Are the grooves continuous and suited to classic skiing? |
| Skate surface | Is there a firm, wide skate lane on the planned section? |
| Elevation | Do the climbs and descents match the group's control and fitness? |
| Grooming | How recent is the update, and which technique does it cover? |